
Understanding the Importance of Vapor Barrier Installation
What is a Vapor Barrier?
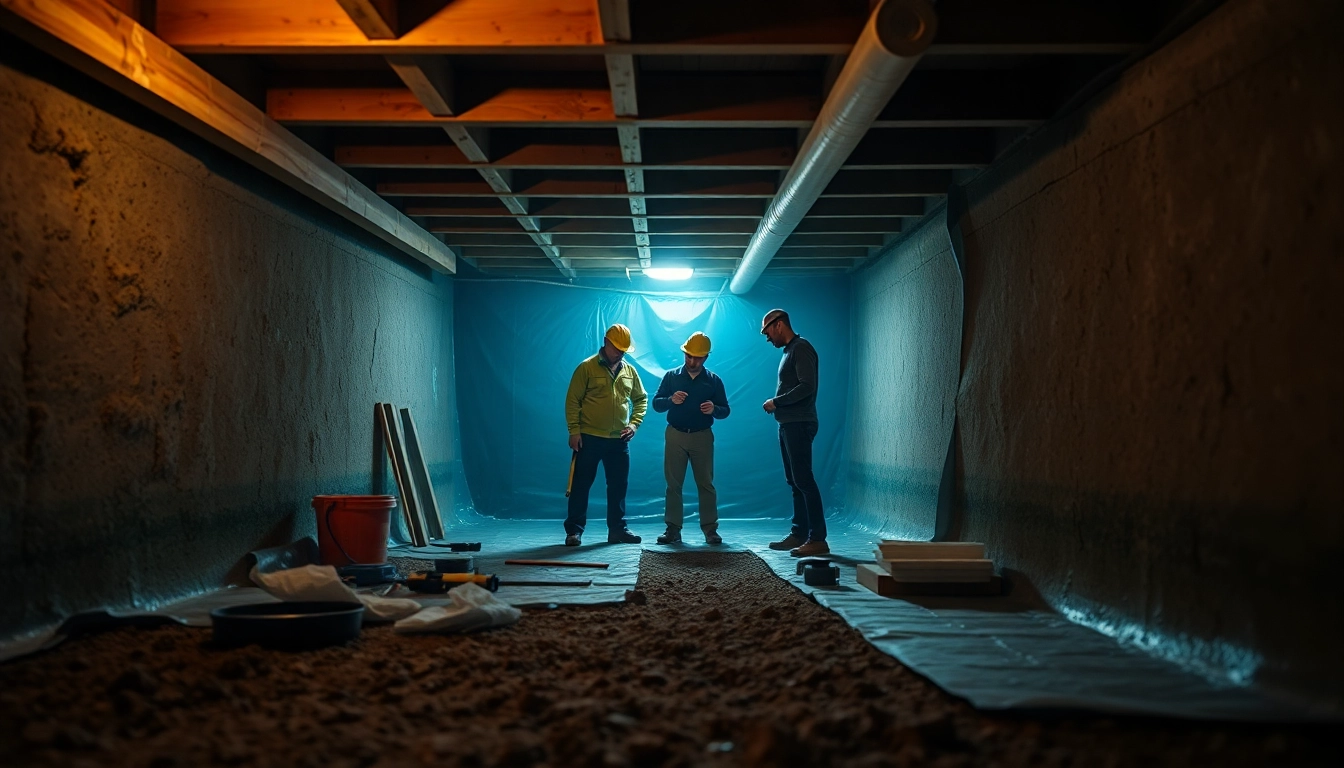
A vapor barrier is a material used to prevent moisture from passing into walls, ceilings, and floors, particularly in spaces like crawl spaces and basements. Typically made from polyethylene or similar materials, it functions as a protective shield against moisture that can lead to mold growth, structural damage, and unpleasant odors. Installing a vapor barrier is crucial, especially in buildings located in high-humidity or flood-prone areas.
Benefits of Vapor Barrier Installation
The benefits of Vapor Barrier Installation are multi-faceted. Firstly, it helps maintain the overall health of your home by minimizing moisture levels. This reduction in humidity can significantly lower the risk of mold and pests. Secondly, a vapor barrier enhances energy efficiency by preventing drafts and reducing heating and cooling loads. Lastly, establishing a dry environment in the crawl space contributes to the longevity of the building’s structural integrity, saving homeowners from costly repairs in the future.
Common Misconceptions
Many homeowners harbor misconceptions about vapor barriers. One prevalent myth is that vapor barriers are unnecessary in regions with low humidity. However, even in dry climates, moisture can enter buildings through various avenues, making barriers essential. Additionally, some believe that a vapor barrier will trap moisture, leading to unpleasant smells and mold. Instead, when correctly installed, these barriers manage moisture effectively, improving overall indoor air quality.
Different Types of Vapor Barriers
Plastic and Polyethylene Barriers
Plastic and polyethylene vapor barriers are among the most common choices for residential properties. They come in various thicknesses, often measured in mils (thousandths of an inch). Thicker barriers tend to provide better moisture resistance but may require professional installation due to their weight and rigidity. These barriers are also relatively affordable and easy to source, making them a popular option for homeowners.
Foil Barriers and Their Uses
Foil vapor barriers, often composed of aluminum, reflect heat and light, making them ideal in radiant barrier applications. In regions with extreme temperatures, foil barriers can help prevent condensation accumulation by reflecting moisture-laden air. They are generally less common than plastic barriers but can be beneficial in specific conditions, particularly in attics or spaces exposed to direct sunlight.
Comparing Various Materials
When selecting a vapor barrier, comparing various materials is crucial. For instance, while plastic barriers can handle moisture well, some foils may be superior in reflecting heat, providing energy efficiency in certain climates. It’s also important to consider factors like installation ease, lifespan, and costs. Understanding the material properties helps homeowners make informed decisions tailored to their specific needs.
Preparation for Vapor Barrier Installation
Assessing Your Crawl Space
Before starting the installation, a thorough assessment of the crawl space is necessary. Inspect for existing moisture issues, mold, and structural damages. Take time to measure the area accurately to determine how much vapor barrier material is needed. A clean, dry space is essential for effective installation, so consider removing debris and addressing any moisture issues beforehand.
Gathering Necessary Tools and Materials
For a successful vapor barrier installation, you’ll need specific tools and materials: a vapor barrier roll (of appropriate thickness), utility knife, measuring tape, gloves, sealant or tape, and optional seam tape or staples. Ensure you have all tools ready before starting the project to minimize interruptions and focus on executing the installation efficiently.
Safety Precautions Before Installation
Safety is paramount during vapor barrier installation. Always wear protective gloves and a dust mask, especially if the area has mold or debris. Make sure the space is adequately ventilated to avoid inhaling any harmful particles. Additionally, inspect for sharp objects, protruding nails, or anything that can pose a hazard while working in the crawl space.
Step-by-Step Guide to Vapor Barrier Installation
Measuring and Cutting the Barrier
Start by measuring the dimensions of the crawl space accurately. Use these measurements to cut the vapor barrier material, ensuring it’s large enough to cover the entire area while overlapping edges by at least 12 inches. A utility knife is ideal for cutting, providing clean edges that won’t hinder the installation process.
Securing the Vapor Barrier
Once cut, lay the barrier out on the ground, ensuring it fully covers the surface. Ideally, the vapor barrier should extend up the walls slightly, securing it appropriately at each edge. Use sealant or tape to attach the barrier to the walls and floor, ensuring it remains flat and taut without any folds or wrinkles that can trap moisture.
Sealing Joints and Edges
To achieve maximum effectiveness, seal all joints and edges of the vapor barrier diligently. Use compatible seam tape to adhere the overlapping sections and ensure complete coverage. It’s critical to create a continuous barrier without gaps, as any openings could allow moisture to enter and compromise the entire installation.
Maintenance and Troubleshooting After Installation
Monitoring Your Barrier Performance
After installation, it’s essential to monitor the performance of the vapor barrier regularly. Check for signs of moisture on the surface and around the edges. A dry and intact barrier should show minimal to no condensation. Regular inspections will enable homeowners to identify potential issues before they escalate into significant problems.
Common Issues and Fixes
Even with proper installation, issues can still arise. Common problems include rips or tears in the barrier, which can result from shifting soil or foot traffic. Repairs are usually straightforward: patch smaller holes with tape and replace sections for larger issues. Additionally, if moisture accumulation persists, reevaluating drainage solutions around the home might be necessary.
When to Call a Professional
If the problems persist despite your efforts, or if installation feels overwhelming, it may be time to consult a professional. Professionals have the expertise to diagnose issues with precise accuracy, provide effective solutions, and ensure compliance with local building codes. Their experience can yield quicker results and peace of mind for homeowners.
FAQs About Vapor Barrier Installation
1. How long does a vapor barrier last?
With proper installation and maintenance, a vapor barrier can last for many years, often up to 20 years or more, depending on the material quality and environmental conditions.
2. Do I need a vapor barrier in a dry climate?
Yes, even in dry climates, vapor barriers can prevent moisture ingress from various sources, protecting your home’s structure and preserving indoor air quality.
3. Can I install a vapor barrier myself?
Yes! Many homeowners can successfully install vapor barriers with proper preparation and attention to detail, following step-by-step guides available online.
4. What thickness of vapor barrier is best?
Generally, a thickness of 6 mils is recommended for residential installations. However, thicker barriers (10-20 mils) may be necessary in areas prone to severe moisture problems.
5. How do I know if my vapor barrier is working?
Regular monitoring of the crawl space for signs of moisture, mold growth, or odors can help determine if the vapor barrier is working effectively. A dry space is a good indicator.