Understanding LVP Flooring
What is LVP Flooring?
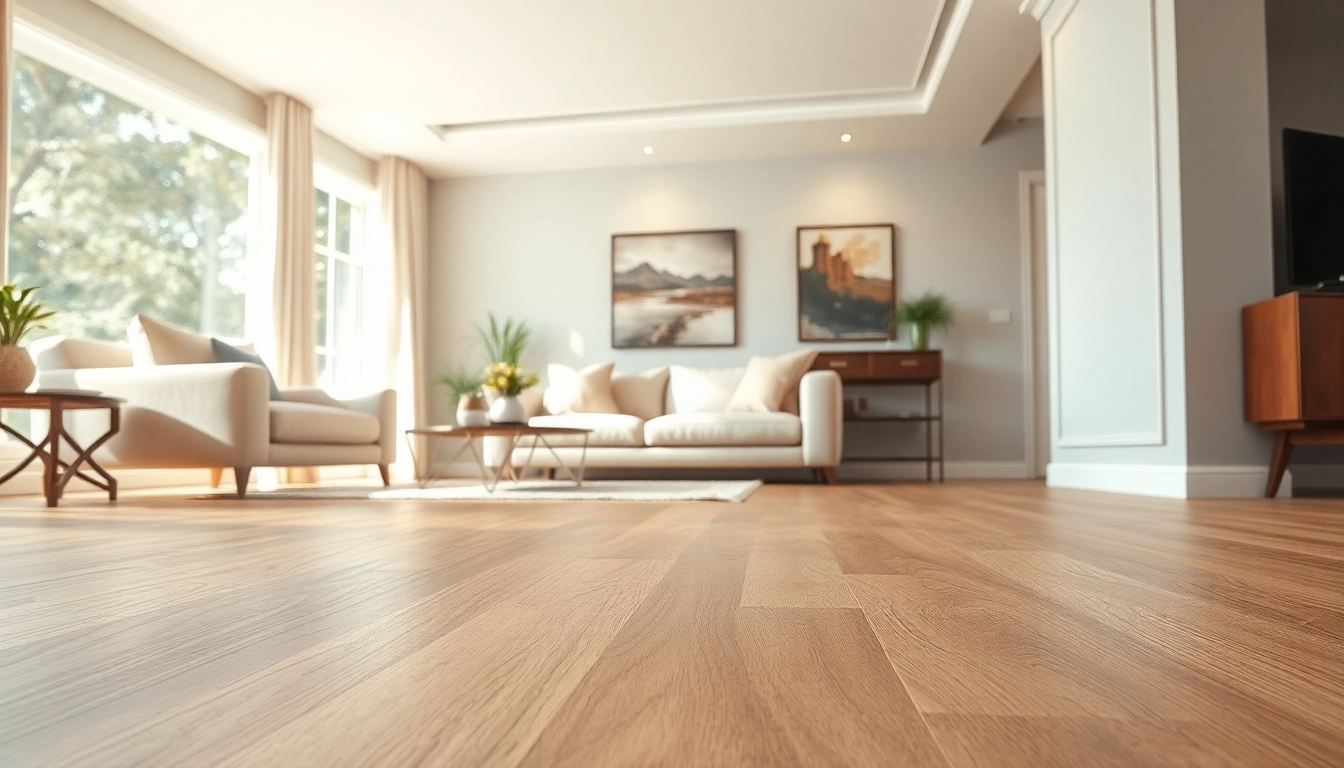
Luxury Vinyl Plank (LVP) flooring is a highly versatile flooring solution designed to mimic the appearance of natural hardwood or stone while providing superior functionality. It is composed of multiple layers that can include a rigid core, a printed design layer, and a top wear layer to protect against scratches and dents. lvp flooring comes in planks that vary in thickness, length, and width, making it suitable for various residential and commercial applications.
Benefits of LVP Flooring
LVP flooring offers numerous advantages that make it a popular choice for homeowners and businesses alike:
- Durability: LVP is resistant to scratches, stains, and moisture, making it ideal for high-traffic areas and spaces prone to spills.
- Ease of Maintenance: Unlike traditional hardwood flooring, LVP requires minimal maintenance. Regular sweeping and occasional mopping are usually sufficient to keep it looking new.
- Cost-Effectiveness: LVP mimics the appearance of authentic hardwood or stone at a fraction of the cost, making it an accessible flooring option for budget-conscious consumers.
- Comfort: LVP is softer underfoot compared to tile or stone. Many options are equipped with an attached underlayment, providing added cushioning.
- Variety of Styles: Available in a wide range of colors, textures, and patterns, LVP can complement any interior design theme.
LVP Flooring vs. Other Flooring Types
When comparing LVP flooring with other popular flooring types, certain aspects stand out:
| Flooring Type | Durability | Water Resistance | Cost | Installation Complexity |
|---|---|---|---|---|
| LVP Flooring | High | Waterproof | Moderate | Easy |
| Hardwood | Moderate | Not Water Resistant | High | Moderate |
| Tile | High | Water Resistant | Moderate to High | Complex |
Choosing the Right LVP Flooring
Factors to Consider When Selecting LVP Flooring
Selecting the right LVP flooring requires consideration of several factors to ensure it meets your specific needs:
- Room Type: Assess where the flooring will be installed. High-moisture areas such as bathrooms or basements require waterproof options.
- Traffic Levels: Choose thicker planks with a robust wear layer for high-traffic environments. Residential options may allow for thinner planks.
- Design Preferences: Consider your home’s aesthetic. LVP comes in various colors and styles, mimicking wood grains and stones.
- Budget: Determine your budget beforehand and select options within your price range without sacrificing quality.
- Installation Method: Decide if you want to hire a professional or tackle a DIY project, as some LVP flooring comes with interlocking features for easy installation.
Styles and Patterns in LVP Flooring
The variety in styles and patterns for LVP flooring allows homeowners to achieve the desired look for their spaces. Common styles include:
- Wood Look: Mimics the look of hardwood, available in various finishes like distressed, modern, or rustic.
- Stone Look: Offers a sleek appearance resembling natural stone, ideal for contemporary settings.
- Patterned: Features unique designs such as herringbone, chevron, or geometric patterns for a more decorative approach.
Understanding LVP Flooring Ratings
LVP flooring often comes with several ratings that indicate its durability, water resistance, and suitability for various applications. Key ratings to look for include:
- Wear Layer Thickness: Typically ranges from 6 mil to 30 mil, with thicker layers offering more protection against scratches and dents.
- Residential vs. Commercial Ratings: Ensure the product suits your intended use. Commercial ratings indicate higher resistance to foot traffic.
- Waterproof Ratings: Look for products explicitly designed as waterproof for installations in moisture-prone areas.
Installation Process for LVP Flooring
Preparing the Subfloor for LVP Flooring
Proper preparation of the subfloor is crucial for successful installation of LVP flooring:
- Clean the Subfloor: Remove all debris, dust, and existing flooring materials.
- Check for Levelness: Use a level to ensure the subfloor is even, addressing dips and peaks as necessary.
- Moisture Testing: For concrete subfloors, conduct moisture tests to assess and mitigate potential issues.
- Install Underlayment: If required, install an underlayment to provide cushioning and sound absorption.
Step-by-Step LVP Flooring Installation Guide
The installation process for LVP flooring can be straightforward if you follow these steps:
- Acclimate the Planks: Allow LVP to acclimate in the room for at least 48 hours before installation.
- Plan Your Layout: Determine how to arrange the planks for optimal aesthetic appeal and minimize cuts.
- Begin Installation: Start in one corner and work your way across the room, using spacers to maintain expansion gaps.
- Cut Planks as Necessary: Use a utility knife or saw for cuts, ensuring a clean edge for a seamless look.
- Finish with Trim: After installing the planks, add baseboards or transition strips to complete the look.
Common Mistakes to Avoid During Installation
To ensure a successful installation, avoid the following common pitfalls:
- Skipping Acclimation: Failing to acclimate can lead to expansion or contraction after installation.
- Improper Subfloor Preparation: Neglecting to prepare the subfloor can cause unevenness and reduce the lifespan of the flooring.
- Adequate Expansion Gaps: Not leaving enough space for expansion may lead to buckling or damaging the flooring.
Maintaining Your LVP Flooring
Daily Care Tips for LVP Flooring
Maintaining LVP flooring requires minimal effort. To keep it looking its best:
- Regular Sweeping: Remove dirt and debris with a soft broom or vacuum regularly to prevent scratches.
- Use Doormats: Place doormats at entryways to trap dirt and moisture before they reach the flooring.
- Furniture Pads: Equip furniture legs with pads to avoid scratching the surface during movement.
Deep Cleaning Techniques for LVP Flooring
For deeper cleaning, employ the following techniques:
- Use pH-Balanced Cleaners: Opt for products explicitly designed for vinyl flooring to avoid damage.
- Mopping with Care: Use a damp mop, ensuring it’s not overly wet to prevent moisture damage.
- Spot Clean Stains Immediately: Address spills and stains as they occur to maintain the floor’s appearance.
Restoration and Repair of LVP Flooring
Over time, your LVP flooring may require restoration or repair. Here’s how to tackle common issues:
- Minor Scratches: For small scratches, use a vinyl repair kit to fill and match color.
- Replacing Damaged Planks: If a plank is severely damaged, replace it by removing the affected section and installing a new one.
- Rejuvenation Products: Regularly apply products designed for LVP to maintain its sheen and protect against daily wear.
Frequently Asked Questions about LVP Flooring
How long does LVP flooring last?
LVP flooring typically lasts 15-25 years, depending on the quality of the product and maintenance practices.
Can LVP flooring be installed over existing flooring?
Yes, LVP can be installed over existing floors like tile or hardwood, provided the surface is flat and in good condition.
Is LVP flooring waterproof?
Most LVP flooring is waterproof, making it ideal for areas like kitchens, bathrooms, and basements.
What is the cost range for lvp flooring?
The cost for LVP flooring typically ranges from $2 to $7 per square foot, excluding installation costs.
How to choose a color for lvp flooring?
Select a color that complements your existing decor. Consider light colors for small spaces and dark for larger, cozy areas.